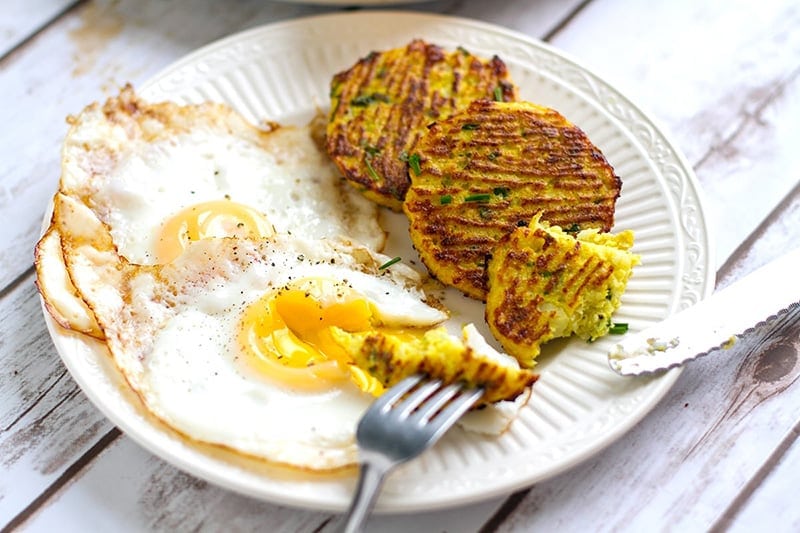
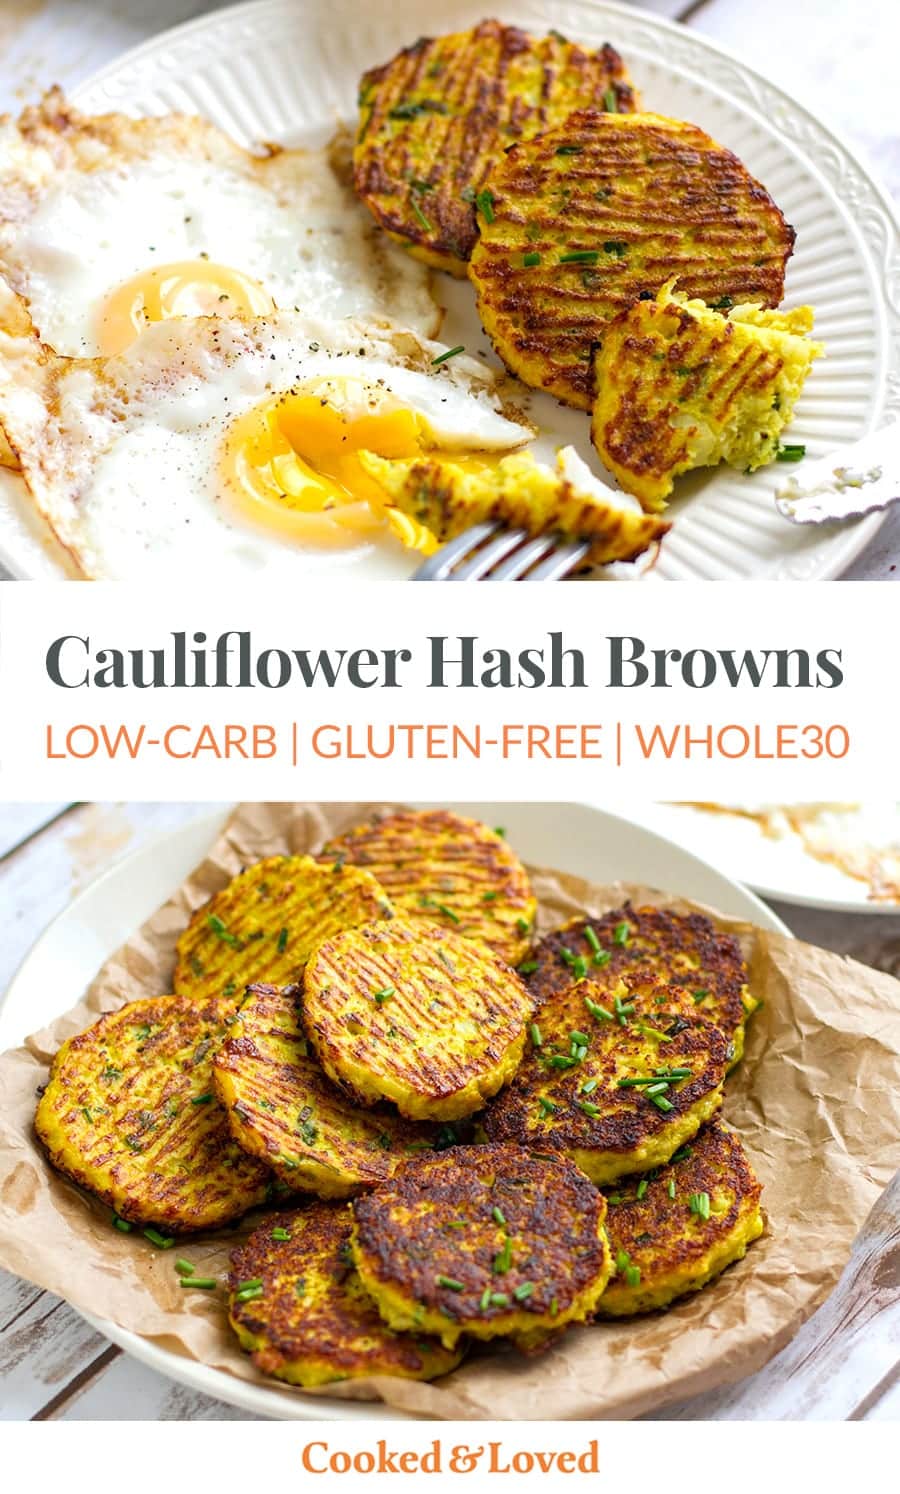
These Cauliflower Hash Browns are a delicious and healthy alternative to potato originals. The recipe is also low-carb, paleo, nut-free, gluten-free and Whole30-friendly. Serve these with a side of eggs, smoked salmon, avocado or crispy bacon.

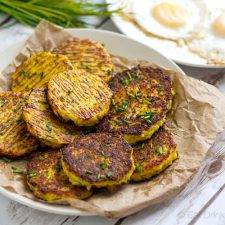
Cauliflower Hash Browns
In case you didn’t know, cauliflower is one of the most versatile vegetables when it comes to healthy eating. You can use it to make low-carb, grain-free variations of pizza, fried rice, couscous and even cauliflower bread. So, naturally, I thought I should try using cauliflower to make a low-carb, paleo version of hash browns.
Hash browns are a classic breakfast dish of fried patties made with shredded or grated (hashed) white potato. They are soft and fluffy on the inside and crispy and golden brown on the outside. In some cases, hash browns resemble potato rosti and others they look more like fritters or fried patties.
These hash browns, made with cauliflower crumbs (or cauli rice) as a base, have a slightly different texture to the originals, mostly because they lack the starch of the white potatoes. They are nevertheless very tasty and a pretty great alternative to potato hash browns.
Obviously, the cauliflower hash browns are much lower in carbohydrates and they are perfect for those of you following a low-carb paleo or keto diets, or trying to avoid nightshades (white potatoes, tomatoes and chilli). They are grain-free, gluten-free and nut-free, making these patties perfect for a school lunchbox.
You can have them warm with eggs and bacon, or as a cold snack, dipped in some garlicky mayo or used as a sandwich vehicle.
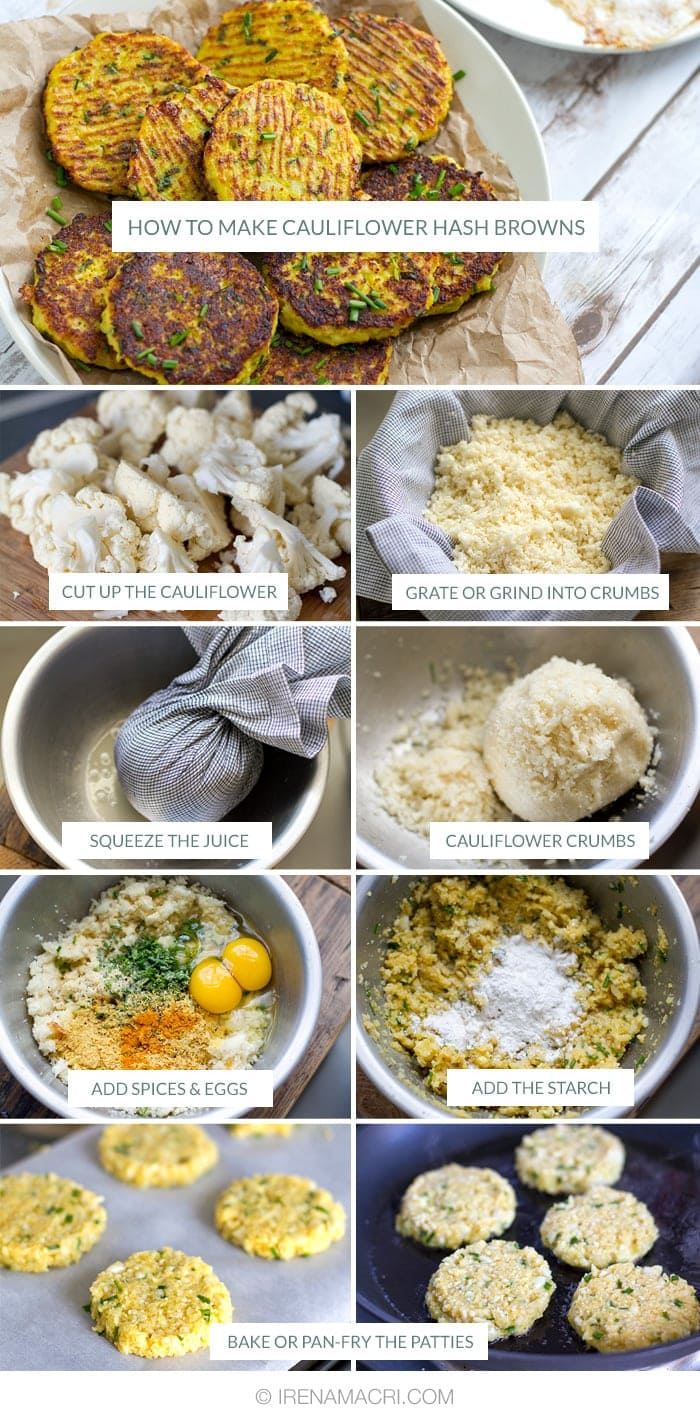
How To Make Cauliflower Hash Browns
I tested two different cooking methods to make these cauliflower hash browns: baking and pan-frying.
Baking takes a little longer but is more fuss-free, requires no cooking oil and in my opinion results in slightly firmer and more stable patties.
Pan-frying is quicker, requires some coconut oil for cooking and produces crispy patties but softer on the inside. Personally, I think I liked the baked ones a little bit more but, seriously, both are delicious and easy to make.
You will find more step-by-step pictures further below.
Storage Tips
They will last for 2-3 days in the fridge. Make sure to keep them in an air-tight container. As I mentioned, you can eat them cold or reheat in a frying pan/oven. I haven’t tried freezing them, so no idea if that would work well. If anyone tries freezing, do let me know if they were still good when defrosted.
Love all things cauliflower? Try my crack cauliflower with spicy red sauce.
Recipe Tips
- I used a food processor fitted with an S-blade to grind the cauliflower into a small crumbly texture. You can also grate the cauliflower, in which case you would leave the vegetable whole and grate into a large bowl or onto a cutting board.
- If dairy is not a problem, you can add some grated Parmesan cheese, about 1-2 tablespoons, instead of nutritional yeast flakes. They can also be omitted altogether, although they do add a nice cheesy flavour to the patties. If omitting nutritional yeast and not using Parmesan or Pecorino cheese, add a little more salt to the mixture.
- If tapioca or arrowroot flour is not available, use 2 teaspoons of coconut flour OR 2 tablespoons of buckwheat or quinoa flour, or almond meal (unless nuts are an issue).
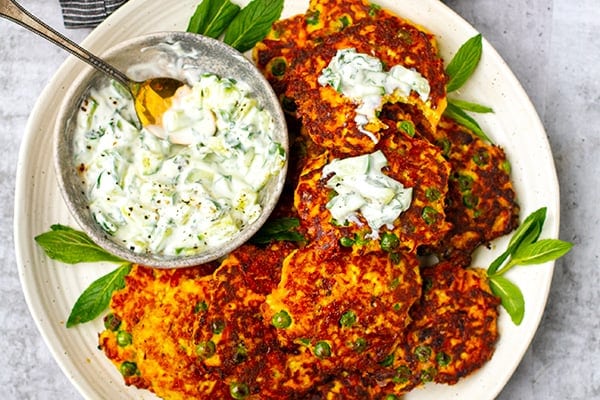
More Low-Carb Patties (Fritters)

Full Recipe
Find the full list of ingredients, instructions, and a nutritional breakdown below. If you have questions or cook this recipe, please let me know in the comments, and make sure to rate this recipe so it’s easy for others to find.
Want to Save This Recipe?
Enter your email & I'll send it to your inbox. Plus, get great new recipes from me every week!
By submitting this form, you consent to receive emails from Cooked & Loved
Ingredients
- 1 medium head cauliflower broken into florets and cut up into smaller chunks (see notes)
- 2 tablespoons chopped chives or green onions
- 1 teaspoon garlic powder
- 1 teaspoon onion powder
- 1/2 teaspoon turmeric gives it lovely yellow colour
- 1/2 teaspoon salt
- Pinch of pepper
- 1 tablespoon nutritional yeast flakes see notes
- 2 eggs
- 1/2 teaspoon gluten-free baking powder
- 2 tablespoons tapioca starch or arrowroot flour, see notes
Instructions
- Grate (see tips above) or process the cauliflower into small crumbs and place in a bowl lined with thin cloth or muslin cloth. Sprinkle the cauliflower crumbs with about a teaspoon of salt and mix through. Leave for at least 10-15 minutes. The salt will help to draw out the juice from the cauliflower.
- After 15 minutes, pull the ends of the cloth together and shape the cauliflower mixture into a bowl. Twist and squeeze the ball with you hands really hard from different angles, to let out as much liquid cauliflower juice as possible. You should get about 1/2 cup of liquid. Discard the liquid from the bowl and return the juice-less cauliflower crumbs back in.
- Add the chives, garlic powder, onion powder, turmeric, salt, pepper, nutritional yeast and eggs to the cauliflower and mash together using a fork. Once mixed through, sprinkle evenly with baking powder and add the tapioca flour. Mix well to incorporate.
- For baking:Preheat the oven to 200 C / 400 F. Line a flat try, turned upside down, with non-stick baking paper. The reason I turn the tray upside down is because I didn't want to have any edges of tray trapping the moisture around the patties. Having a completely flat try helps to make them a little crispier.
- Use 1/4 measuring cup, scoop the mixture and press it down inside the cup to compress it, then turn the cup upside down over the tray and tap the bottom with your fingers to let the mixture fall out on the tray. Use the bottom of the cup to press down the patty to flatten it and make it a little thinner. Continue with the mixture until you fill up the tray. You may need to do this in two batches or use to trays. Feel free to use a spoon to shape the patties. Bake for 17-18 minutes, middle shelf, until light brown and firm. The hash browns should come off the paper quite easily.
- For frying (which is quicker):Heat a thin layer of coconut oil in a large frying pan (about 1 heaped tablespoon of solid coconut oil) over medium-high heat. Once hot, use the same method (with 1/4 measuring cup) to add the patties to the pan. You can also use a tablespoon and shape the patties with your fingers, before adding to the pan. They can be whatever shape you like, about 1-1.5cm in thickness. Fry over medium-high heat for 4-5 minutes each side. Add a little more coconut oil when you flip the patties over.
Notes
Nutrition

Oh great! I have a cauliflower that needs to be used up fast before it goes bad! I will make these!
Such a creative recipe! I will save this one for my Saturday morning breakfast (which has to be special!).
Yum! Will definitely be making these!
I’ve been on a total cauliflower kick this winter. I just made these, and they are SO good! Thank you! Lovely photos!
Oh so much yes on these!! You always post these recipes that I wish I could make immediately. 🙂
These look so delicious! What a great low carb option!
These are on my TO-MAKE list! I’ve gone keto, so these low carb recipes are lifesavers!
I love using cauliflower in recipes! These hash-browns look amazing. Can’t wait to try them.
These are so perfect! I can’t have potatoes anymore and I always crave “potato” dishes that I used to love, like hash browns. These cauliflower hash browns are everything!
I love hash browns! With a cauliflower alternative – I’m even happier. Thanks for a great recipe.
These look delicious! Will definitely be giving them a try this weekend!
Lovely recipe – these will be Delilah me love the addition of turmeric ?
Yum scrum – been planning to try making these for a while!
These hash browns look so good !! I love hash browns. Totally going to try them. Thank you.
This is what I call an ultimate breakfast treat!
These would be a great snack for anytime of day!
I love your efforts to explore the boundaries of this vegetable. Another fabulous recipe by you hun! Congratulations!
Thanks Kelly 🙂 I am a vegetable explorer indeed.
OMG! I seriously LOVE hash browns and do genuinely quite miss them despite not even liking potatoes ha! This looks so simple to make as well. Thanks so much <3
What a cool idea! These are so golden brown and delicious looking.
Thanks Becky 🙂
These look incredible, and I love that they’re so healthy! Those golden brown crispy edges have me craving them right now, but I guess I’ll have to wait a few days for the weekend when I go shopping again!
I have never attempted hash browns but these looks super easy. love the photo step by step guide.
Mine turned out great!! My only substitution was I didn’t have baking bowser. So to get the same effect I used a half tsp baking soda and a tsp of apple cider vinegar to get the acidic reaction. I used coconut flower too. Turned out just like the pics! Couldn’t be happier!
Thanks Ashley! And great tip for subbing the baking powder 🙂
This looks great! However, I have recently become fully plant-based and was wondering how to substitute the eggs?
I imagine you could try a ready-made egg replacer from a health food store or use some soaked chia seeds, that some people sometimes use as a binder instead of eggs.
Hello! Is there an egg-free version of this you might recommend?
I haven’t tried making these without eggs but you could use a teaspoon or so of flaxseed soaked in water as a binder instead.
I recommend frying. When baking them they did not become firm and didn’t really hold together than well